INDESIGN WORKSHOP
SESSION 1
Indesign is a page layout software that is very advanced and is used when concerning print.
Thera are many similarities to other design softwares from Adobe such as Photoshop and Illustrator.
There are three choices when opening a new window (Document, Book, Library)
You will usually only use document.

Once you have clicked on the document selection box will appear and this is were you can set up your document appropriately. (Measurements, page sizes, Intent, orientation, margins and columns).

Make sure you set up your document to the size of document you wish to create. Don't just make it A4 and work in the middle because this wont work.

You can click the more option button on the right hand side. This will give you the option to set margins and guide lines to help you while in the process of working.
GUTTER = Space in between the columns.
MARGINS = places guides on each side of the page.
Important when printing (cropping and trimming). Everything has to be bigger so it can be trimmed down.
BLEED = Your document has to spread past the border of the page to the bleed lines so it can the be trimmed down neatly and professionally. (Standard bleed is 3mm)
SLUG = also an area outside the page, this is were the printers makes are contained. There when printed but lost when the page is trimmed.

You can also use this tool box to set up the amount of pages you can have. this also concerns double sided print.

The facing pages option concerns the making of a book. (one page folded down the middle to face each other.)

This is how the document will the look. The different colour lines indicate were the bleed, borders and actual page edges are. you can still adjust these guides through the layout selection on the to toolbar.


These are the pallets used through out the design process. the pages palette lets me adjust anything to do with the pages ass well as adding more pages to the document.

This is an example of a booklet with facing pages (page 2 & 3 are made into a spread).


You can add guides by clicking on the rulers around your page and dragging the blue bar onto the page.

You can create guides using the layer selection on the tool bar


Once you gave decided on measurements of you guides your page will be adjusted accordingly.
The type tool lets you add a text frame. Select the type tool and drag a box across you page.

This is an example of a type box.


To get an idea of how this box will look filled with text you can use the 'fill with placeholder text' selection in the type toolbar at the top.
Once you have your text with in the box you can use various other tools to adjust the style of the typography.


If you click on the selection tool this will highlight the box with added handles. this allows you to move and adjust the group of text to how you want it. so for example you can create a column and the text inside the box will adjust itself to fit. You can use multiple text boxes for individual bodies of text.

The software will automatically guide you so, if you wanted, the text boxes could align with each other.


To open other text documents into the Indesgn software you can make a new text box and 'plac' the other document with in the text box.

If this little red box i present on the text box frame, it means that the box isn't big enough and not all the text can be seen.
To inert images from photoshop you have to:
-Make sure the image is 'actual size'.
-It is set to CMYK for printing.
-It is at a 300dpi resolution.
-it is saved as a photoshop (psd) ore tif (not jpeg.)
to insert images from Illustrator you have to:
-It is set to CMYK for printing.
-you can use a ai file (illustrator file).
There are fewer things to consider when using an illustrator file.

To insert an image you use the place tool again, however you don't have to have a frame ready. select your image from the selection box that come up when you click place.


if you place the image into an already made frame then this circular shape will appear on the image. This allows you to adjust the image within the frame.


Making the photographic image bigger or smaller will affect the resolution of the image so it is better not to resize the image.
When inserting an illustrator image, draw the text box, use the place tool and open the file. This will add the image to the curser


With an illustrator file you can make it bigger or smaller without effecting the quality.


The brown box is the actual image resizing tool.
* * * * * * *
17TH JANUARY 2013
INDESIGN WORKSHOP
SESSION 2

Don't be worried about the pixilation of the image. This is normal as the software displays the image at a low resolution while you are arranging your pages making it easier for the program to manage it.

SAVING YOU DOCUMENT & IMAGES WITHIN.
If we save our indesign file without saving our images this causes problems when printing. An indesign project should always we worked on from a folder were all of the images with in the document are saved also.
If this is not done while saving, the next time the document is opened the software will show the image, however there will be a little red question mark on the box indicating that the original image is missing. Indesign will let you re-locate this image by searching through your files, selecting the original image and re-forming the link.


To mange a large scale image, Firstly place a file on to your document.


By clicking on this circle this allows you to re-size the image with in the frame (indicated with a brown box).


After resizing the image you can the make the frame smaller too (indicated by a blue box.


By clicking on the ling on the pages box you can see all the information each individual image has.

To re-size your image with another software you can use the 'edit with' tool.


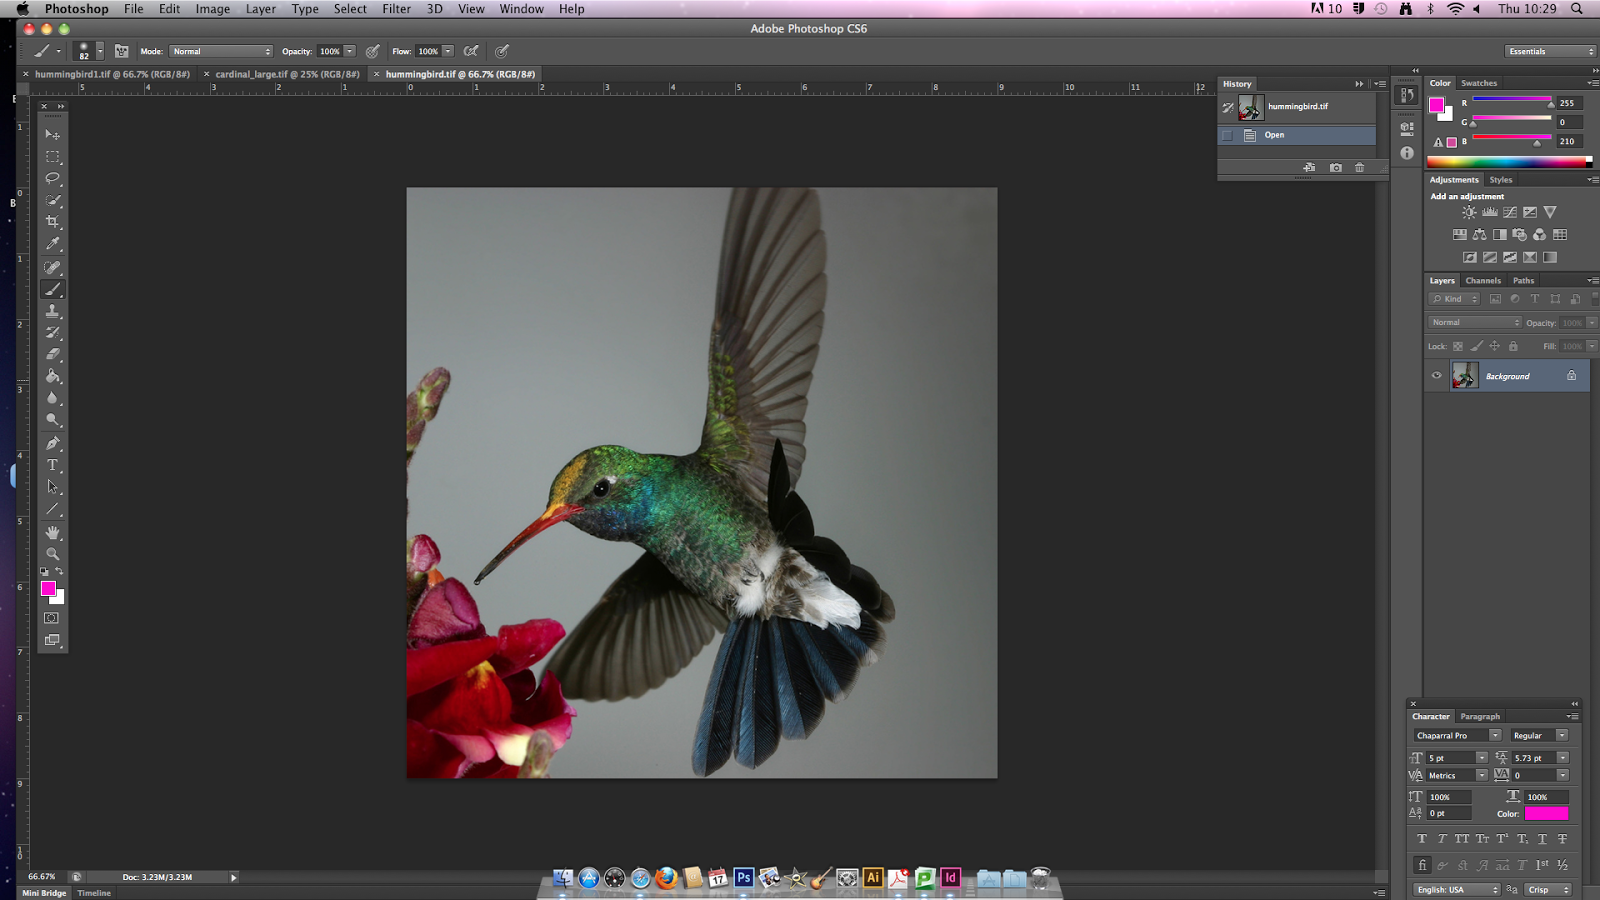
When opening an image in Photoshop, there are no layers with in this image.


after getting rid of some of the background to the image, save it.

You can then use the place tool to transfer this image to Indesign were you can arrange the image onto you page.


By clicking the 'w' on you key board this will allow you to view your document with out and frame. It will also remove the white background giving more indication to how your page will look and what my be cut off when in print.
To manage the stacking order of you frames if you images and text are overlapping, simple right click.

This will give you the option to order your boxes by send the backwards an forwards.


You can also adjust the space between the box and the image to.


This will bring the text in to hug the image instead of the frame the image is in.

You can create a fame to a shape using a pen tool.


Make sure you have clicked on your shape and use the object on the toolbar. this will give you a content option that will allow you to change the box into a text or image frame.


Even if you adjust the frame useing the pen tool, it will automatically re-arange the text inside it.


You can copy and paste images to and from illustrator which will mean you don't have to like the files.
* * * *

To apply colours to your document you can you the swatches option on your pallete.


If you select the shape you want to change and use the square to decide how you want to colour your shape and this will apply your selections.
when colouring a text boz it will also give you the option to apply colour to the text.


if you want to create a new colour you can make a new colour swatch.


Once you have decided on you colour, click ok and this new colour will appear in your swatch as an option for use.
The file menu gives you the options when you are wanteing to print your documents. Using a PDF file when printing is very comman.


Press quality is the highest quality in which you can print. You would use this all the time.

once you hace created you pdf file it will give you a preview of you work so you can see it before it is sent to print.
* * * * * * *
No comments:
Post a Comment